Showing posts with label pie. Show all posts

Monday, September 23, 2013

Perfect GF Apple Pie

So I had a bunch of apples left over from an event I did and after much internet surfing for ideas on what to do with a bunch of apples... I settled on Apple Pie! Seeing as yesterday September 22nd was the 1st day of Fall, it just seemed like the best way to bring in my favorite season!


Gluten Free Apple Pie
Crust: 
Pamela's Gluten Free Bread Mix
Follow the pie crust recipe on the side and do the half butter and half shortening combo for the best crust!

Filling:
10 firm tartly sweet apples (I used Galas because thats what I had left over and needed to use up but normally I would use Granny Smiths of Pink Ladies)
1/2 cup + 1 tbs white sugar 
2 tbs brown sugar
1/2-1 tsp Cinnamon (depending on how much you like it)
1/4 tsp Nutmeg
4-5 tsp Lemon Juice

1. Preheat Oven to 350. Follow instructions for Pie Crust, divide dough in 2 balls and refrigerate for 15 minutes (cover in plastic wrap.
2. Take one ball of dough and roll out between two sheets of parchment paper with large enough surface to cover pie dish. 
3. Grease pie dish with shortening and then sprinkle with gluten free flour (shake out excess). 
4. Then remove top sheet of parchment from dough and roll gently onto rolling pin to transfer crust over pie, unroll gently with bottom sheet on top so you can remove. Gently lift and place crust into dish and cut off excess around the edge. 


5. Poke fork holes around bottom of pie to crust stays flat.
6. Place pie crust in oven to pre-bake for 25 minutes. 
7. Using a potato peeler, remove skin from apples, cut out the core and slice apples into 1/4 thick slices. 
8. Sprinkle lemon juice over apples, use hands to mix apples gently so they dont break up. 
9. Mic sugars and cinnamon and nutmeg together, then sprinkle 1/4 of mixture over apples and mix with hands. 
10. Place apples covered with plastic wrap in refrigerator if crust isn't ready. When crust is pre baked, layer apples into pie crust- (do not just pour it in, layer the flat slices one of the other, this makes a nice thick and full filling that wont "fall" when your pie cools off after baking)


11. Every few layers- sprinkle the extra sugar you reserved over apples. About a tbsp per new layer. 
12. Pull out 2nd ball of dough and roll out to be large enough to cover surface. Using same method for bottom crust, gently roll up onto rolling pin and position over pie. 
13. Using a fork, seal edges of crust gently and cut 3 "leaf" shaped holes out of center of crust so steam can escape. 
14. Decorate crust with left over crust leaf cut outs or other shapes. 
15. Beat one egg and brush liberally over crust then immediately sprinkle large sugar grains (turbinado works well) all over pie for a nice crusty and sparkly finish!

16. Place pie in 350 oven and turn heat up to 375. Bake for 45 minutes, cook another 15 if crust still needs to brown some more. Let pie rest for at least 2 hours so can set up before cutting into.
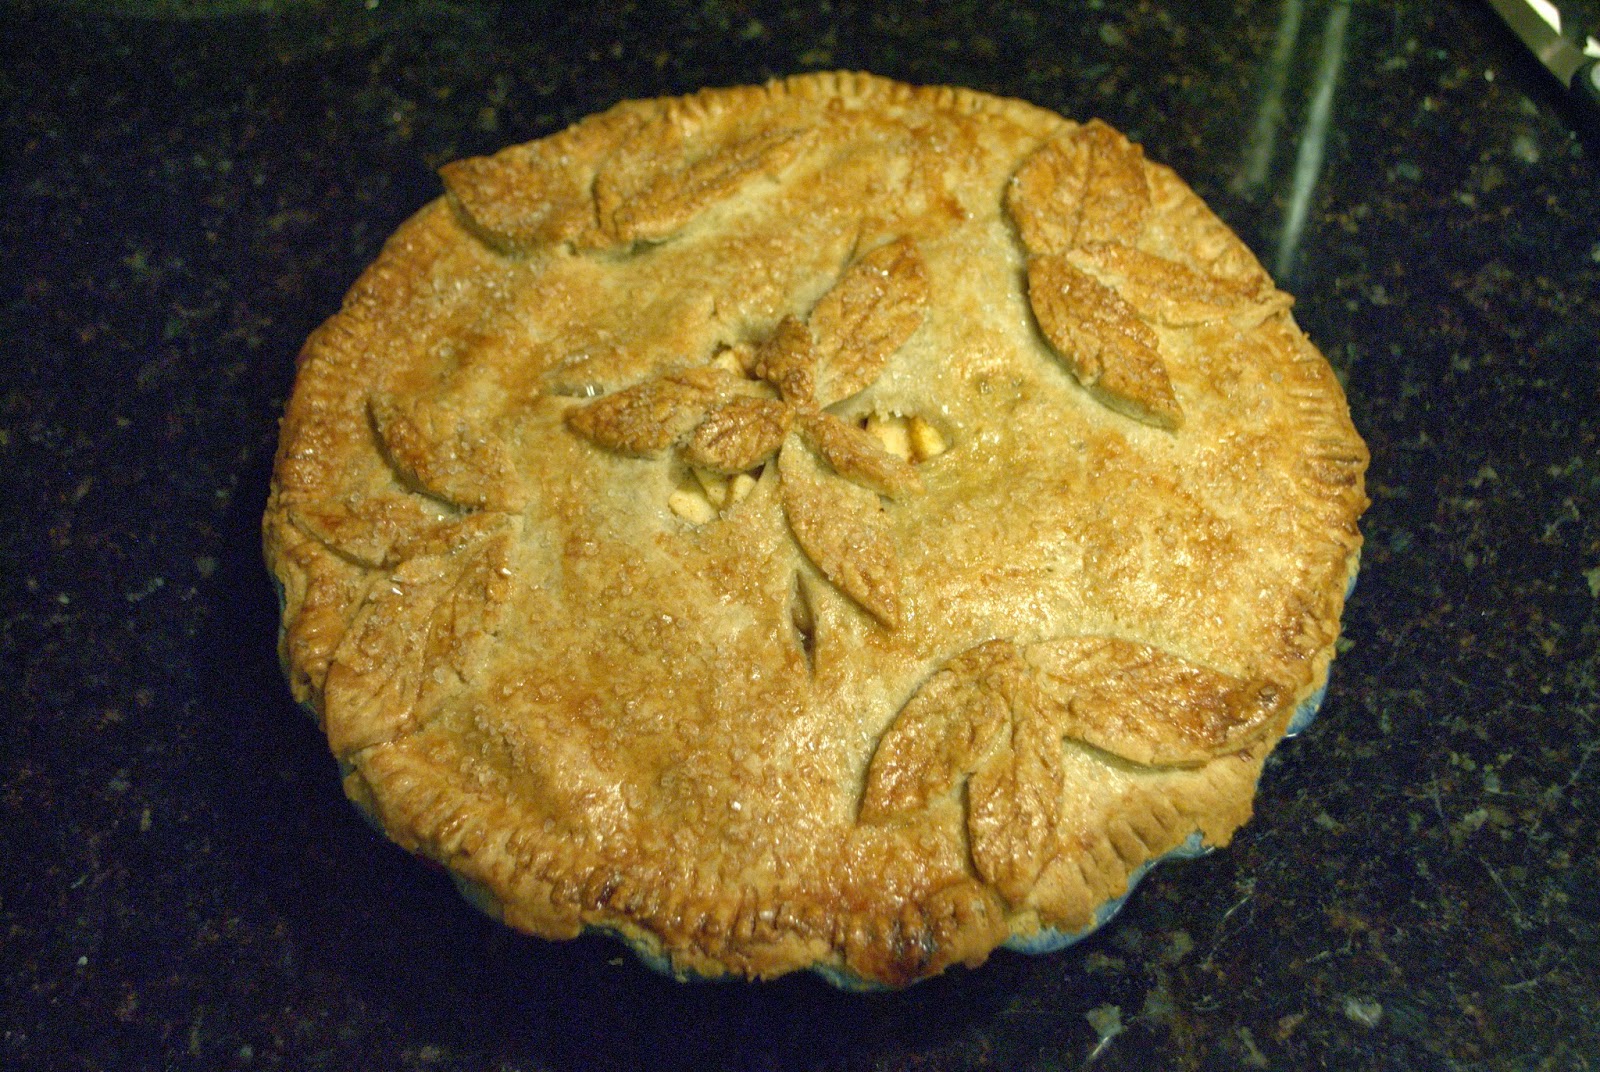


Enjoy!

Monday, April 22, 2013

Baked Strawberry Pie with Gluten Free Crust

So most birthdays we do cake... but it used to be that around spring we'd have strawberry pie... sometimes just because and sometimes for my mom's birthday since that's what she always had growing up for her birthday. 


So this year I decided I'd surprise mom and make her a strawberry pie for her birthday since she has been out of town on a church retreat. But our fridge was full to the brim with chicken stock and a million quart containers of Brunswick stew from the Spring Stew fundraiser my Dad and the men's group do at the church. Therefore the traditional gelatin based strawberry pie we always have wasn't going to have somewhere to set up in the fridge. 

Also gelatin kind of freaks me out because you never know if you've done the recipe right until its been 24 hours and you can see if the filling has set up and I didn't feel like possibly messing it up. (Yes, I know, I have perfectionist issues!) Plus the idea of a baked pie to go with the Homestead Creamery Vanilla Ice Cream I'd bought at our local farmer's market when I bought the strawberries just sounded better. 

So after doing a bit of recipe searching on the web I found what I felt would be the tastiest and semi easiest pie to bake (number of ingredients wise) and got to work!

While I am no longer following a strictly gluten free diet thanks to having my celiac tests come back negative... I used a gluten free pie crust because well... it is SERIOUSLY the best pie crust ever!

The recipe I took my cues from The Little Epicurean blog and I'm going to have to go back to visit because she had lovely photographs and lots of recipes I think I'd enjoy! 

I followed her recipe for the filling with a few adjustments along with her directions for pie construction but used my own gluten free pie crust.

Once you make this pie... you will find the idea of eating any store bought Strawberry Pie offensive! Why would you when you can have this goodness without a huge effort!?

So here it goes:
Gluten Free Baked Strawberry Pie:
(Modified Version of The Little Epicurians)
2 quarts washed hulled and sliced Strawberries (next time I'm going to use 3 quarts)
1/2 cup granulated sugar or more depending on strawberries sweetness (I used closer to 1 cup)
3 tbs cornstarch (next time I plan on doubling this to 6 tbs or testing out using tapioca powder)
1/2 tsp sea salt

For the crust:
I use Pamela's Bread Mix and follow the recipe on the back for Pie Crust.  I highly recommend it! It has the perfect balance of sweet and savory so it works for either kind of pie. It also comes out nice and flaky and holds up really well to juicy fillings. All you need to add is butter &/ or shortening ( I use both) and some ice cold water. Bonus... its Gluten Free but your friends and family will never know!
A few tbs milk
Large grain sugar- either turbino or decorative clear sugar sprinkles


To Make:
1. Follow recipe for pie crust. 
2. Once chilled roll out 1 ball of dough and carefully (extra careful because gluten free tends to break much easier than regular flour) place dough over greased pie dish and gently press into form. Trim off excess around edge using a knife. 
3. Place pie dish in fridge to chill while preparing strawberries. Also Preheat Oven to 450.
4. Wash, hull and drain strawberries. Slice- I sliced mine into 1/4 inch thick slices instead of quartering. 
5. Place stawberries in mixing bowl and add sugar (as much as you need according to how sweet your berries are) cornstarch and salt. Mix well with a spoon, the berries will naturally start giving off some juice which will help everything blend. 
6. Pull out pie dish and gently pour berries into the pie
7. Roll out your top crust between two sheets of parchement paper and gently lay over the top. Using thumbs firmly press crust around edges or use a fork
8. Cut 4 slits in pie around center to allow steam to escape
9. Brush a light coating of milk over crust and then sprinkle large grain sugar over
10. Bake in oven at 450 for 10 minutes, then turn down to 350 and bake another 45 turning pie every 15-20 so crust bakes evenly!

Let stand for at least an hour or two before serving. 


 If you don't have parchment paper you can use wax paper but seriously... there are so many uses for parchment paper.. you should have it in your kitchen as a staple!


The easiest/ best way to transfer your rolled out dough to place into or over pie dish without tearing dough... use your rolling pin and preferably 2 hands... but hey, I needed a photo! Also keep parchment paper along for the ride to keep dough from sticking to itself!


And VOILA! A beautifully baked Strawberry Pie! As you can see below... my pie had some leakage issues once we cut into it. All the same it tasted delicious! But I'm going to play around next time and make mini pies so I can figure out if adding more cornstarch or some tapioca and in what amount will do the trick!


We enjoyed the delectable sweet strawberry goodness and flaky gluten free crust with some Homestead Creamery Ice Cream all the same! The filling was delicious.. but seriously the crust... we all LOVE how good that Pamela's Gluten Free crust is!