Showing posts with label Food. Show all posts

Saturday, October 19, 2013

Easy Fajitas!

Its been a rainy dreary Saturday here and after a most excellent 3 hour nap, because hey, what else is the weekend for, I made some very yummy and very easy steak fajitas for my family that I thought you all might enjoy trying!

This is usually how we do fajitas, well steak fajitas anyway in our house but you can always skip tortillas and put all of this over a salad for a great fajita salad too!


Easy Steak Fajitas
Serves:4-6
Prep Time: 15-20 min
Cook Time: 15-20 min

Grocery List:
2 lbs. cut of London Broil or Flank Steak that is an even 1 inch thickness
2 bell peppers (any colors you like)
1 large red onion
Tortillas
Sour Cream
1 Tomatoes
1 Avocado

Seasonings:
1 tbs Cumin
1 tbs Paprika
1/2 to 1 tsp Red or Cayenne Pepper depending on how spicy you want it
1 1/2 tsp season salt
1 tsp dry cilantro
1 tsp groung black pepper
1 tsp brown sugar
pinch of coffee grounds

1. Mix all seasonings together into a rub, lightly coat steak in olive oil, then salt and pepper and then spread rub all over flesh. Let steak sit 20 min to overnight.

2. Cut bell peppers and onion into 1/4 inch long slices. Heat Black Iron Skillet with 2 tsp olive oil and throw vegetables in over high heat. Cook over until onions are caramelized a bit, about 5 minutes, stirring frequently so nothing burns and then turn heat to low and cook another 3-7 minutes depending on how well done you like your fajitas veggies. You can season however you like either just s & p or add a bit of cumin, cayenne or hot sauce!

3. Chop up your toppings- Avocado and Tomatoes and anything else you want and place everything in serving dishes.

4. Heat a grill to at least 300 degrees, place steak on grill for 3 minutes per side. Then remove and let rest 10 minutes before cutting. (This will give you a nice medium rare), if steak is less that 1 inch thick then cook 2 minutes per side and if closer to 1 1/2 inches thick then add a minute per side. If you like your steak more well done, then don't come to my house for dinner! ;)

That's it friends! Its so simple! Then just grab your favorite tortillas and dish up some yummy Steak Fajitas! 
I like to chop my steak up before putting it in the tortillas so its easier to eat, or you can just slice it really paper thin and that will do the trick too! 
This dish is simple and healthy. We don't even do any additional sides because you really get all you need in the fajita and this can easily accommodate any vegetarian friends o family by just skipping the steak since you cook them separately!


Monday, April 22, 2013

Baked Strawberry Pie with Gluten Free Crust

So most birthdays we do cake... but it used to be that around spring we'd have strawberry pie... sometimes just because and sometimes for my mom's birthday since that's what she always had growing up for her birthday. 


So this year I decided I'd surprise mom and make her a strawberry pie for her birthday since she has been out of town on a church retreat. But our fridge was full to the brim with chicken stock and a million quart containers of Brunswick stew from the Spring Stew fundraiser my Dad and the men's group do at the church. Therefore the traditional gelatin based strawberry pie we always have wasn't going to have somewhere to set up in the fridge. 

Also gelatin kind of freaks me out because you never know if you've done the recipe right until its been 24 hours and you can see if the filling has set up and I didn't feel like possibly messing it up. (Yes, I know, I have perfectionist issues!) Plus the idea of a baked pie to go with the Homestead Creamery Vanilla Ice Cream I'd bought at our local farmer's market when I bought the strawberries just sounded better. 

So after doing a bit of recipe searching on the web I found what I felt would be the tastiest and semi easiest pie to bake (number of ingredients wise) and got to work!

While I am no longer following a strictly gluten free diet thanks to having my celiac tests come back negative... I used a gluten free pie crust because well... it is SERIOUSLY the best pie crust ever!

The recipe I took my cues from The Little Epicurean blog and I'm going to have to go back to visit because she had lovely photographs and lots of recipes I think I'd enjoy! 

I followed her recipe for the filling with a few adjustments along with her directions for pie construction but used my own gluten free pie crust.

Once you make this pie... you will find the idea of eating any store bought Strawberry Pie offensive! Why would you when you can have this goodness without a huge effort!?

So here it goes:
Gluten Free Baked Strawberry Pie:
(Modified Version of The Little Epicurians)
2 quarts washed hulled and sliced Strawberries (next time I'm going to use 3 quarts)
1/2 cup granulated sugar or more depending on strawberries sweetness (I used closer to 1 cup)
3 tbs cornstarch (next time I plan on doubling this to 6 tbs or testing out using tapioca powder)
1/2 tsp sea salt

For the crust:
I use Pamela's Bread Mix and follow the recipe on the back for Pie Crust.  I highly recommend it! It has the perfect balance of sweet and savory so it works for either kind of pie. It also comes out nice and flaky and holds up really well to juicy fillings. All you need to add is butter &/ or shortening ( I use both) and some ice cold water. Bonus... its Gluten Free but your friends and family will never know!
A few tbs milk
Large grain sugar- either turbino or decorative clear sugar sprinkles


To Make:
1. Follow recipe for pie crust. 
2. Once chilled roll out 1 ball of dough and carefully (extra careful because gluten free tends to break much easier than regular flour) place dough over greased pie dish and gently press into form. Trim off excess around edge using a knife. 
3. Place pie dish in fridge to chill while preparing strawberries. Also Preheat Oven to 450.
4. Wash, hull and drain strawberries. Slice- I sliced mine into 1/4 inch thick slices instead of quartering. 
5. Place stawberries in mixing bowl and add sugar (as much as you need according to how sweet your berries are) cornstarch and salt. Mix well with a spoon, the berries will naturally start giving off some juice which will help everything blend. 
6. Pull out pie dish and gently pour berries into the pie
7. Roll out your top crust between two sheets of parchement paper and gently lay over the top. Using thumbs firmly press crust around edges or use a fork
8. Cut 4 slits in pie around center to allow steam to escape
9. Brush a light coating of milk over crust and then sprinkle large grain sugar over
10. Bake in oven at 450 for 10 minutes, then turn down to 350 and bake another 45 turning pie every 15-20 so crust bakes evenly!

Let stand for at least an hour or two before serving. 


 If you don't have parchment paper you can use wax paper but seriously... there are so many uses for parchment paper.. you should have it in your kitchen as a staple!


The easiest/ best way to transfer your rolled out dough to place into or over pie dish without tearing dough... use your rolling pin and preferably 2 hands... but hey, I needed a photo! Also keep parchment paper along for the ride to keep dough from sticking to itself!


And VOILA! A beautifully baked Strawberry Pie! As you can see below... my pie had some leakage issues once we cut into it. All the same it tasted delicious! But I'm going to play around next time and make mini pies so I can figure out if adding more cornstarch or some tapioca and in what amount will do the trick!


We enjoyed the delectable sweet strawberry goodness and flaky gluten free crust with some Homestead Creamery Ice Cream all the same! The filling was delicious.. but seriously the crust... we all LOVE how good that Pamela's Gluten Free crust is!


Thursday, February 21, 2013

One Big Pot!

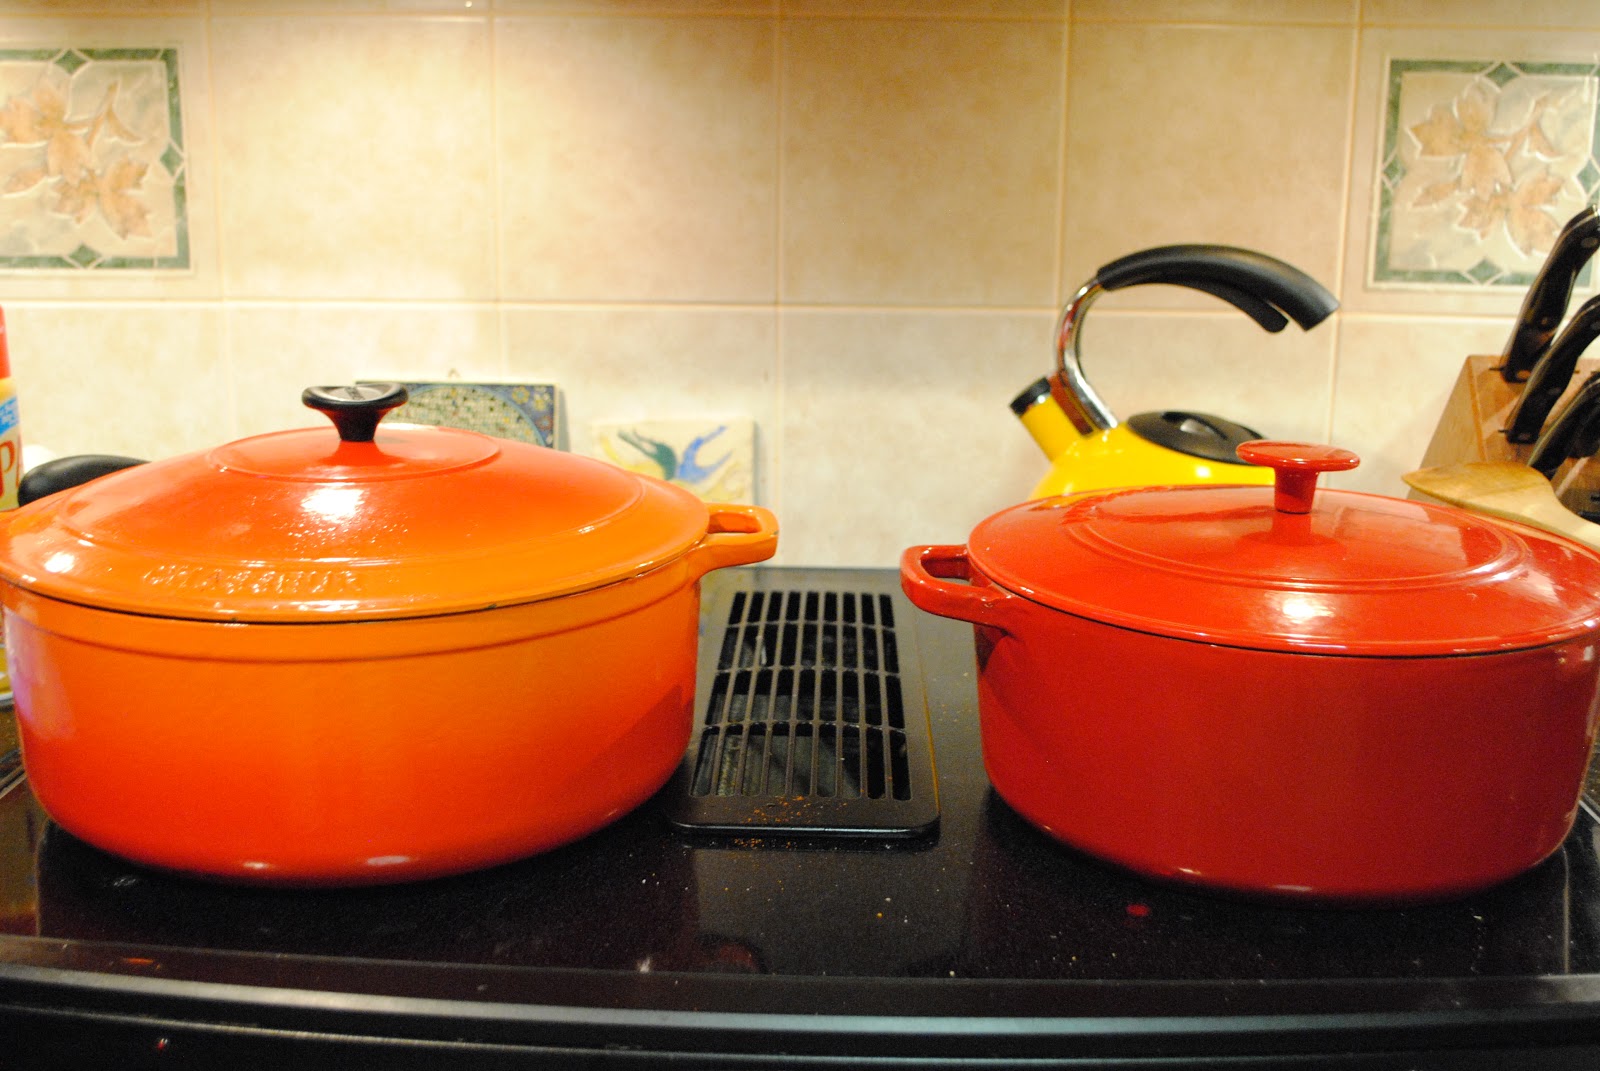
Sometimes you just don't want a lot of clean up. And for those nights, I make what I like to call "One Pot Meals". Not to mention since I got my purtty Dutch Ovens, I'll find just about any excuse to use them! 

That gorgeous orange ombre one on the left is my Le Chasseur that I bought when I was working retail last year for a few months at Tuesday Morning. With an additional %50 off its already clearance marked price and my %20 employee discount I got it for just $64! It retails for at least 4 times that much and is comparable to Le Creuset! My dad loved it! So when my mom and I were at an estate sale about a month later and found the pretty red one on the right never used (the price tag was still on the inside bottom of the pot) for just $20, we bought it! That way when I eventually move out, Dad will still have his own! Its Cuisinart brand but it still works great! It's a little smaller too so we use it more often unless we're cooking for more than 6 people. My orange one is HUGE! Honestly, its one of the largest sizes you can buy but you can roast a chicken in it! I figure down the road it'll be great for entertaining a large crowd with some tasty Couq Au Van or Superbowl Chili! 

All this goes to say, if you really want a nice cast iron enameled piece of cookware and can be patient and keep your eyes out, there is no reason to pay full price for this kind of cookware which normally runs anywhere between $300- $500! CRAZY! Embrace your inner bargain shopper and be on the lookout!


(Sigh) Oh the many delicious meals you beauties will contain! Not to mention the lovely pop of color they add to any kitchen!


Sunday, February 17, 2013

Sunday Dinner

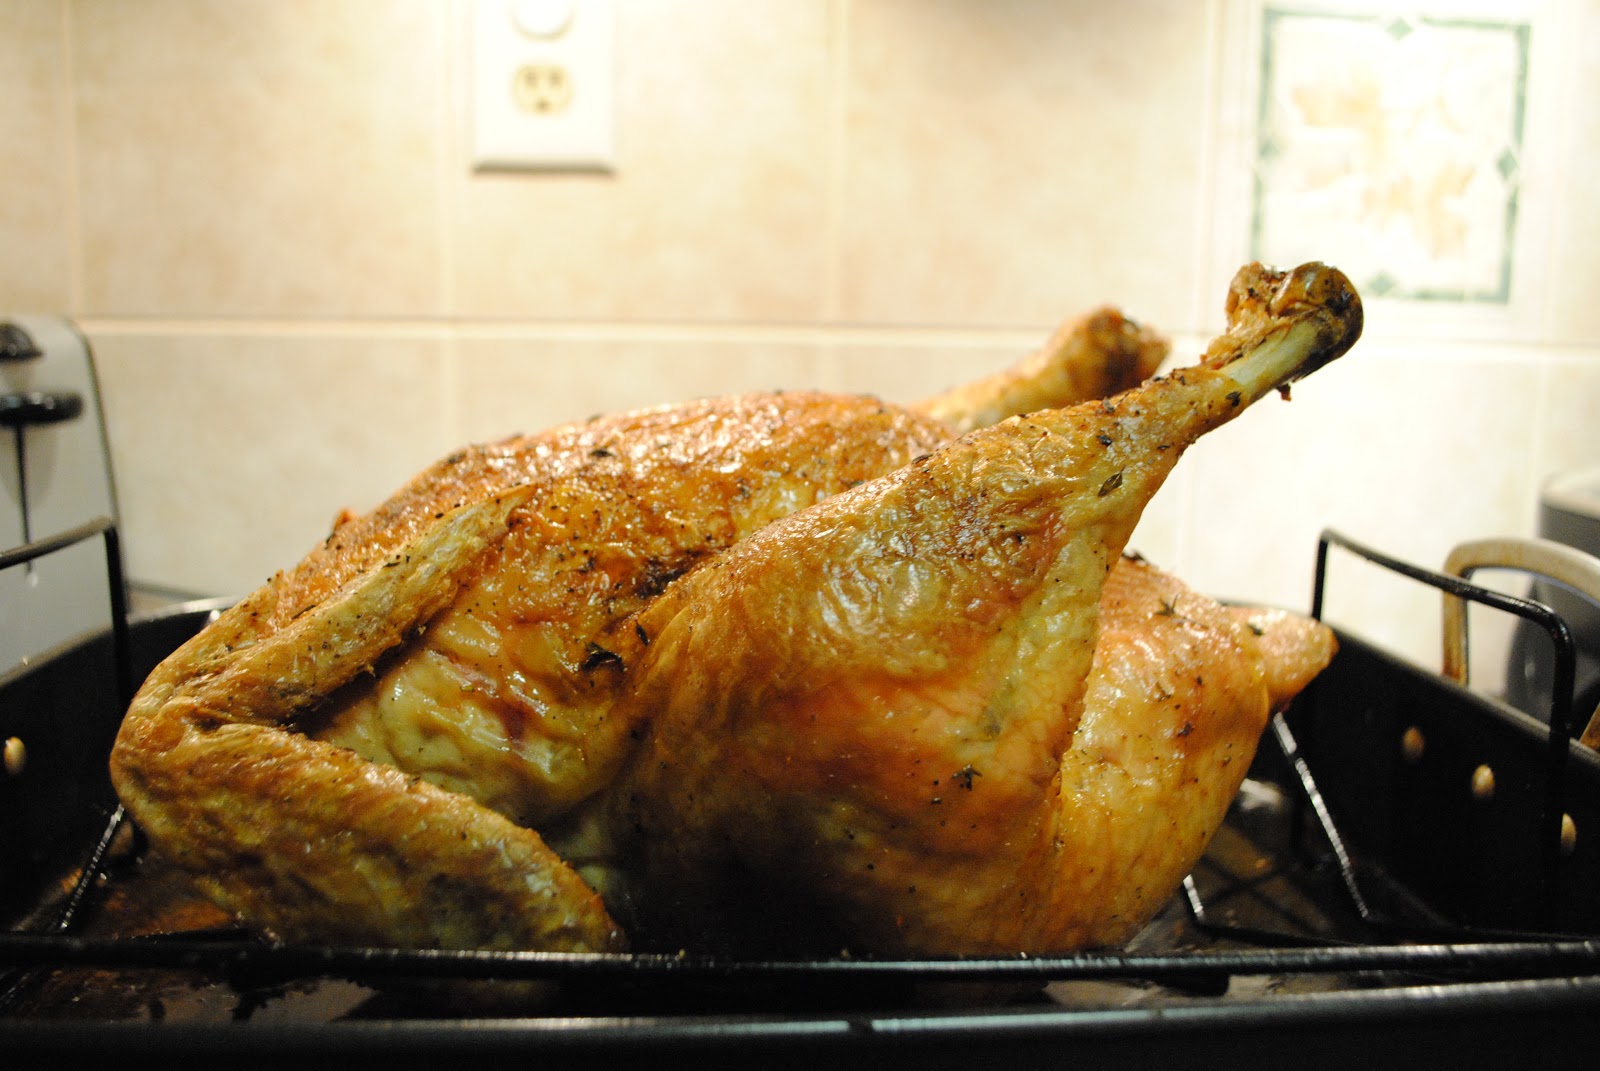
We have company this weekend. And about a month ago we were at the farmer's market and my Dad purchased a 12 lb chicken. That's right, 12 lbs! And not a turkey, a chicken! Maybe for you folks who live further out in the country and have your own chickens or can easily get fresh farm raised chicken that doesn't seem like a big deal.. but being suburbanites who shop mainly at a grocery store.. that's unheard of! 

So naturally, we pulled it out to have with our guests. Good thing too cuz we still ended up with a ton of left overs and we fed 8 people! Our friends are Italian, so when we knew they were coming we asked them to bring their Kitchen Aid attachment for pasta to use on my Kitchen Aid mixer. So along with the giant roast chicken, we also had made from scratch pasta which our friends sons: Tom, Chris and Sylvester made! Both regular and gluten free! And I also made swiss chard sauteed with mushrooms and bacon.  Um.. YUM! 

No recipe with this tonight.. just thought I'd share what we had for our sunday dinner! And perhaps I'll post a recipe later this week but since I had a big crowd to cook for, I didn't snap any before or progress pictures.. just the end result.


Friday, February 15, 2013

Spaghetti Squash with Bacon and Swiss Chard!

So I have one favorite go to dish. I don't know that its necessarily the rest of my family's favorite.. but it is most definitely mine! There is just one problem. Its pasta! 
But not just any pasta, its spaghetti (sometimes linguini) with bacon and normally spinach and whatever else I feel like throwing in. But the base is just that, simple, delicious and bacony! 
We call it "Aunt Laurie's Recipe" at our house because well, the 1st time we ever had it was quite a few years ago now when we were visiting my cousins and Uncle and, you guessed it, Aunt Laurie. Its been a staple go to on those don't know what to make nights ever since! or on my birthday. Like I said, its my favorite.

So what with us trying to make healthier choices and cutting a lot of the carbs we were eating out of our diet I decided to try my favorite recipe using spaghetti squash. And replacing spinach with some fresh raindbow swiss chard and adding a few pieces of chicken.  I am so glad I did!
Because it is the same delicious meal but with oh sooooo many fewer calories so that the bacon part.. almost feels guilt free! 

Here is what you'll need:


Spaghetti Squash, A leafy green (recommened: spinach or fresh swiss chard), bacon (I used the precooked to save time) and 2 medium chicken breasts.
 1. Preheat oven to 375-400 depending on how quickly you want the squash to cook. I did 375. Cut your Spaghetti Squash in half and scoop out the guts. Place cut side down in a pyrex baking dish and add 1/4 inch water to bottom of dish. Pop it in the oven for 50 minutes (if 375) 30-45 (if 400) or until done. 

 2. Prep your greens! If using spinach you can use frozen but I try to use fresh whenever I can. I always wash my greens even when they say prewashed. But especially using swiss chard, you WANT to WASH those leaves because they've been growing up, from under the ground, and they have dirt and grit on them. These were organic so I wasn't so worried about any kind of pesticides. 
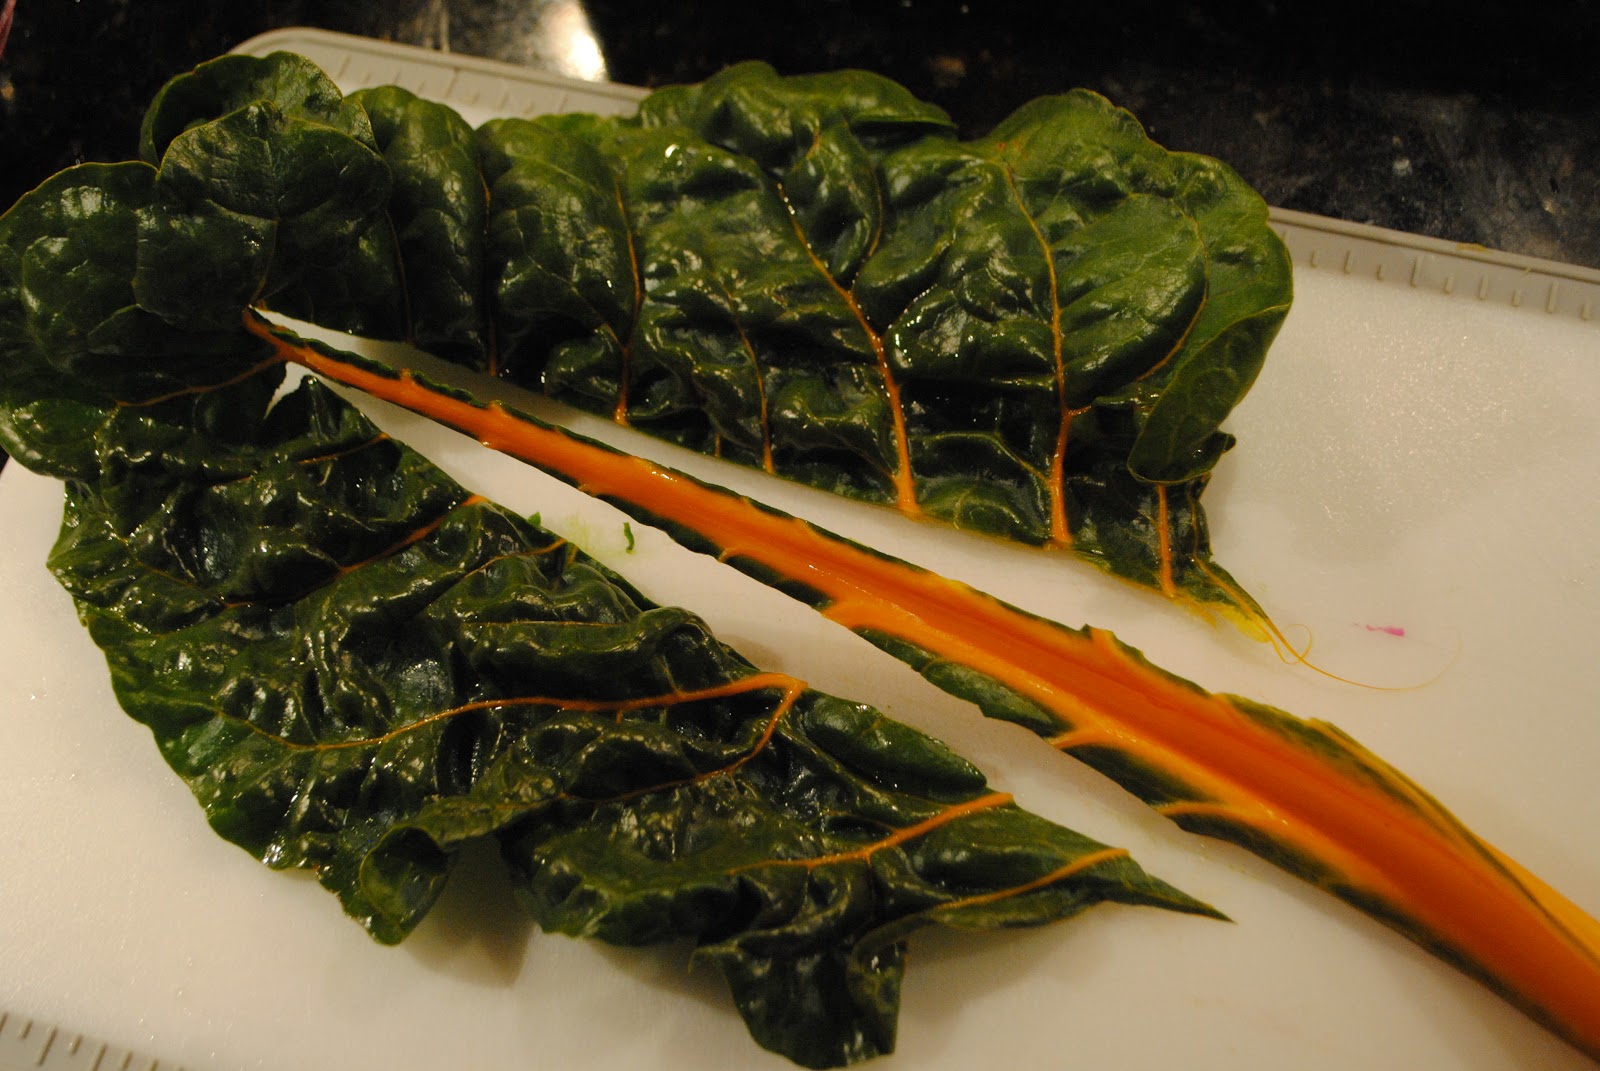
 Best way to wash them is cut those stems out. (DON'T throw the stems away!)
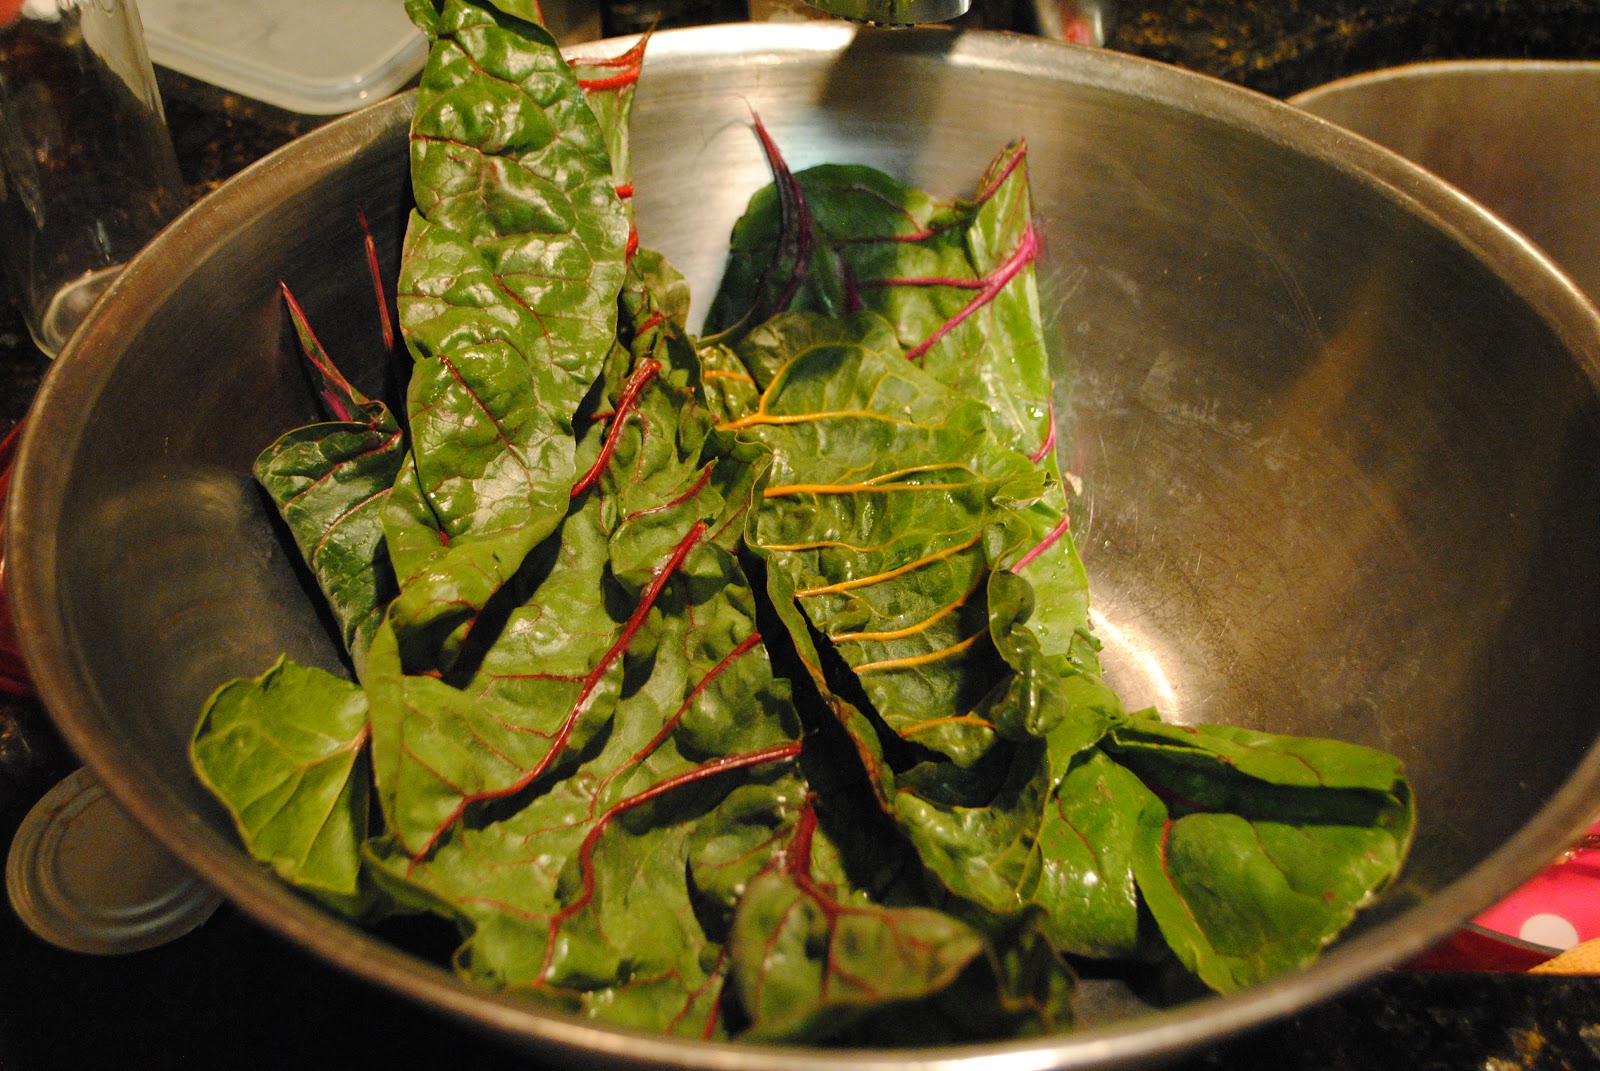
 And place in a large bowl, fill with cold water. 
 And sprinkle in about 1 tsp of Baking Soda! Seriously! It'll help loosen any of those really stuck on grit particles and if not using organic, give it a bit of a cleaning too!
Then swish em around in the bowl and let them sit for 10 minutes.. with occasional gentle swishing! 

 Then you can pull them out, and set them aside in a colander or salad spinner. Look at all the residue left behind! Trust me, you'll be glad you washed them, otherwise you'll be wondering why your meal has a slight gritty texture to it! ;)
Now, a quick not on those pretty colorful stalks! Don't toss them! They are just as good as the leafy green and go GREAT in stirfry! Just dice them up and toss them in an asian stir fry! Now you know what you'e makin for the dinner after this one!
 3. Cook up those chicken breasts! I just sauteed them in a pan with a little EVOO, Salt, Pepper and Mrs. Dash Garlic and Herbs.

And cut up that Bacon! Try not to eat all of it in the process! ;) 


Throw that bacon in for a few minutes just to heat up and leave a little flavor for the greens, then set aside and toss the greens in the same saute pan. I rip them up into bite size pieces 1st. Those will cook down quickly. About 3-4 minutes over medium heat while gently tossing with a pair of tongs! 
(I forgot to grab a picture of that but as you can see I diced the chicken up and that swiss chard cooked down, a LOT) 

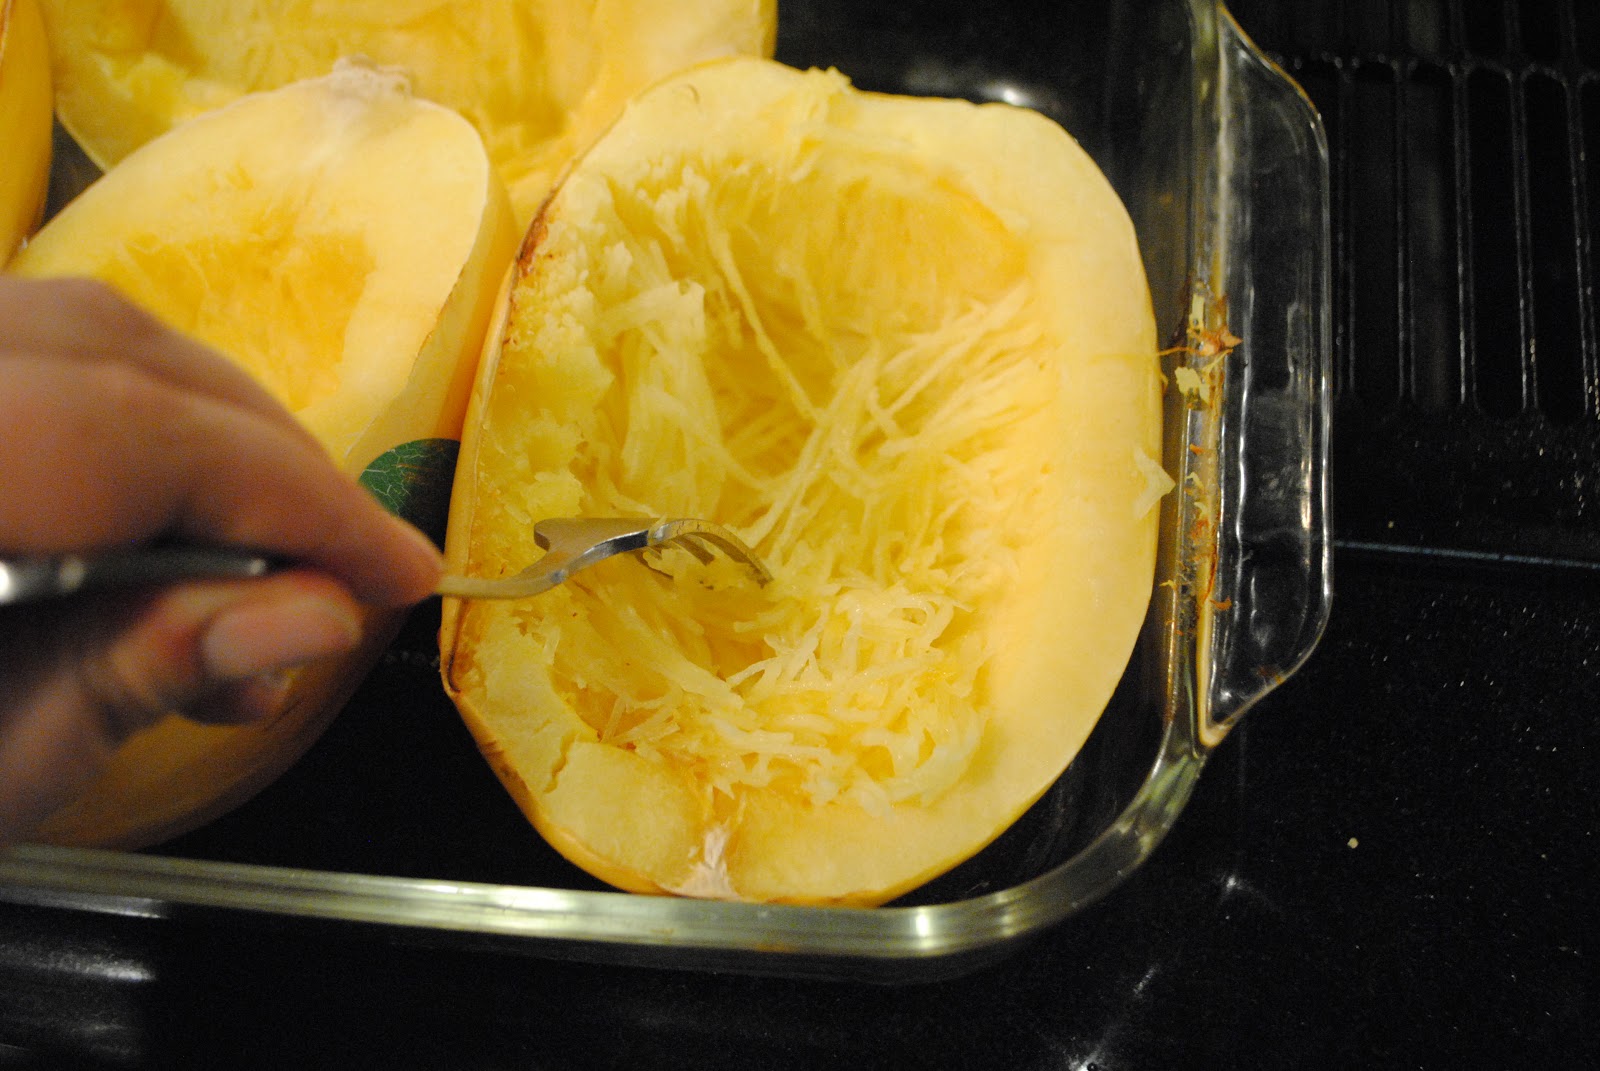
 Once your squash is ready, fork those "pasta" strands up and into a serving dish!


Add just enough EVOO to coat the squash, salt & pepper to taste and some REAL parmesan cheese! We don't use Spaghetti Sugar (thats what I called it when I was 3) that powdered parmesan stuff because it doesn't melt into dishes the way grated parm does!

Then plate your meal.. pasta on bottom, swiss chard, chicken and the BACON! 
And voila! A healthy, filling and oh so delicious meal! 


Spaghetti Squash with Bacon and Swiss Chard
Serves: 3-4
Prep Time: 20-30 minutes
Cook Time: 45 min to an Hour

Ingredients:
Spaghetti Squash (1 large or 2 small ones)
1 package of Bacon (save some time and use the Oscar Meyer precooked!)
2-3 medium chicken breasts
1 bunch of Swiss Chard (alternate: 1 bag fresh baby spinach or 1 bag frozen leaf spinach)

Preheat oven to 375/400
1. Cut open squash and scoop out guts. Place cut side down in pyrex baking dish and add 1/4 inch water to bottom of dish. Bake in oven 40 minutes to 1 hour.
 Give it about 15-20 minutes before you proceed with the nest steps so by the time you finish Squash will be cooked and everything can be plated hot! 

2. De stalk Swiss Chard and place in large bowl. Add cold water and 1 tsp baking soda. Swish around and let soak 5-10 minutes. Then pull out and drain. Tear into bite size pieces... about 2x3 inches.
3. Cook Chicken lightly season with salt, pepper and any other flavors you like! I just threw on a bit of Mrs. Dash Garlic and Herb.
4. If using raw bacon.. cook it, drain and let cool enough to handle. Then chop up bacon into small pieces. 
5. Once chicken is cooked, set aside to cool before dicing up. Throw bacon into pan to heat up. About 3 minutes. Then place aside.
6. With heat on medium put Swiss Chard in same saute pan that meat was cooked in. Season with salt and pepper and wilt down. Toss frequently 3-4 minutes until cooked down. Turn heat off. 
7. Pull Squash out of the oven. Should be done- flip over to be cut side up and pull a fork across the squash flesh. It is gives and fluffs up in strands its ready! We like ours a little "Al dente" or in squash lingo.. with a bit of crunch still left in it! Fork out "spaghetti" into a serving dish.

8. Plate and serve! Yum!

Like I said, I love this dish! And using the squash it makes it so much lighter and Its so simple and yummy and it makes an awesome base for sooo many different options! Don't have chicken?  Use shrimp! Want to change the flavor palette a bit? Add some Alfredo sauce- we like Classico! Or toss some aged balsamic vinegar in with the EVOO to coat the pasta... just go easy and add according to taste on the Balsamic! Add some other veggies like peppers, onions, brussel sprouts.. the possibilities are endless with this as a starter base!

I hope you enjoy as much as we do whether you try it with the Spaghetti Squash or use the real thing! :)