Showing posts with label meal planning. Show all posts

Thursday, February 28, 2013

Dry Rubbed Salmon

I love seafood. Of seafood I particularly love salmon. Its almost as much a staple as chicken is in our house. 
I came across a dry rub recipe to put on salmon in my favorite food mag a few years ago.. Food & Wine and after a bit of tweaking, its become a favorite way to prepare salmon. The rub leaves the salmon with this sweet savory glaze on it that is just yummy!


My favorite way to use this rub is for the grill. Put the rub on the salmon and then place it over foil on the grill, or if you have one of those fish grill cages you can use that. This time I just baked it because well, it was 30 degrees outside and I didn't feel like standing around in the cold while grilling. 

Dry Rubbed Salmon:
Serves: However many you like depending on the size of fillet you buy, for us usually 4-6
Prep Time: 10 Minutes
Cook Time: 15-20 minutes 

Salmon:
Purchase FRESH! I don't like using frozen unless its from Costco and is the Kirkland brand. 
If using a large fillet- cut into individual portions. Try to cut the salmon so that the pieces will all cook as evenly as possible. 

Dry Rub: 
(I use this on a fillet of salmon that feeds 4-6- just increase it all a bit if you are serving more!)
1 tbsp brown sugar/ light brown sugar- which ever you have, but it needs to be brown (not white, not raw)
2 tbsp Sweet Paprika
2 1/2 tbsp Ground Cumin
1 tsp Cilantro
1 tsp Basil
1/4 tsp Season Salt
1/4 tsp Garlic Salt
1 tsp Garlic Powder
1 tsp Chinese Five Spice
1/2 tsp Red Pepper
1/2 tsp Ground Ginger
1/2 tsp Mustard Powder

Mix it up in a bowl- taste. Depending on your taste you may want to add or subtract for spice level and sweetness level but this is what I use. 

1. Pat salmon dry on both sides- don't need to wash it, but want it to have a dry surface. Then pour a little olive oil over and rub all over salmon- about 1 tbsp. 

2. Sprinkle dry rub generously over salmon fillets and rub into the flesh. Flip over and do the same for the other side. I like to get the whole fillet covered- both sides and all the edges. 

3. Place in a glass pyrex dish  if baking or on foil if grilling- use heavy duty foil and double it. 

4.  Bake- 350 degrees for 8-10 minutes - then flip fillets over gently using a wide flat spatula and bake another 8-10 minutes. This will cook it to a nice medium- the center on the thicker pieces will still be slightly rare- which is exactly how we like it. But hey, if you like your fish well done.. just keep on cookin it ;)

or 

 Grill- I like to light the gril and then quickly lay down one large double layered flat piece of foil to create an even and hole free cooking layer. 
- put grill on high and close- let it get to at least 350 degrees 
- then open grill and place fillets on foil. Turn heat to medium/ low and close. 
- Come back and check in about 7-8 minutes. Turn fillets over carefully using a wide ideally silicon spatuala. Bake another 7-8 minutes!!

Serve over a salad, with rice, or really any side dish you like! We had ours with some jasmine rice and snow peas!


 If you look closely at the picture below- you can see that the thinner pieces of the salmon fillet on the two pieces I layered over the thicker pieces beside it so they wouldn't over cook. I find it works pretty well- it will still be more cooked than the thicker pieces, but it will also still be tender and tasty- no dry and over cooked.
 Here they are all cooked! I flipped them over half way through- keeping those thin bits still layered (now underneath) the thicker pieces!


If you like salmon- then I hope you get a chance to try this recipe! Its so simple and very tasty! Its great fro summer barbecues and can really be used on any meat! Yes! You can use this same dry rub on pork, chicken, steak, shrimp... what ever you like! I usually half the brown sugar when I use it on steak and chicken- but its up to you and your taste buds! 


Wednesday, February 27, 2013

Lamb Osso Buco

So my Dad stopped at Costco on his way home from work earlier this week.. and grabbed the usual Costco family favorites (in ours at least) of fresh salmon and rotisserie chicken. But he also got Lamb Osso Buco cuts! 

I have never cooked lamb before, but since getting my Chasseur dutch oven a year ago, its one of the meals I've been dreaming about cooking! And of course, my parents have been dreaming about getting to eat it, after I cooked it! ;) (Truth!) Haha, anyway, I went ahead and made Lamb Osso Buco for Sunday Dinner this past weekend and it was DELICIOUS!! 
As well as surprisingly affordable and easy. The package of 6 lamb steaks with bone in was less than $15 from Costco! That's cheaper than most steaks or pork tenderloins!


This dish is rich, but not overly so, not in a heavy way. Its rich in a flavorful succulent delicious way. Cooking it low and slow in a dutch oven really allows the flavors to just blend and meld together. 

Rustic Lamb Osso Buco:
Serves- 4-6
Prep Time- 40 min
Cook Time- 4-6 hours

Ingredients:
Lamb- osso buco cut- just ask your butcher!
1 large or 2 small onions- chopped 1/2 inch
2 carrots chopper 1/2 inch
2-3 stalks of celery chopped 1/2 inch
7 cloves of garlic- loosely chopped
2 tbsp tomato paste
1 cup dry red or white wine
1 cup beef stock
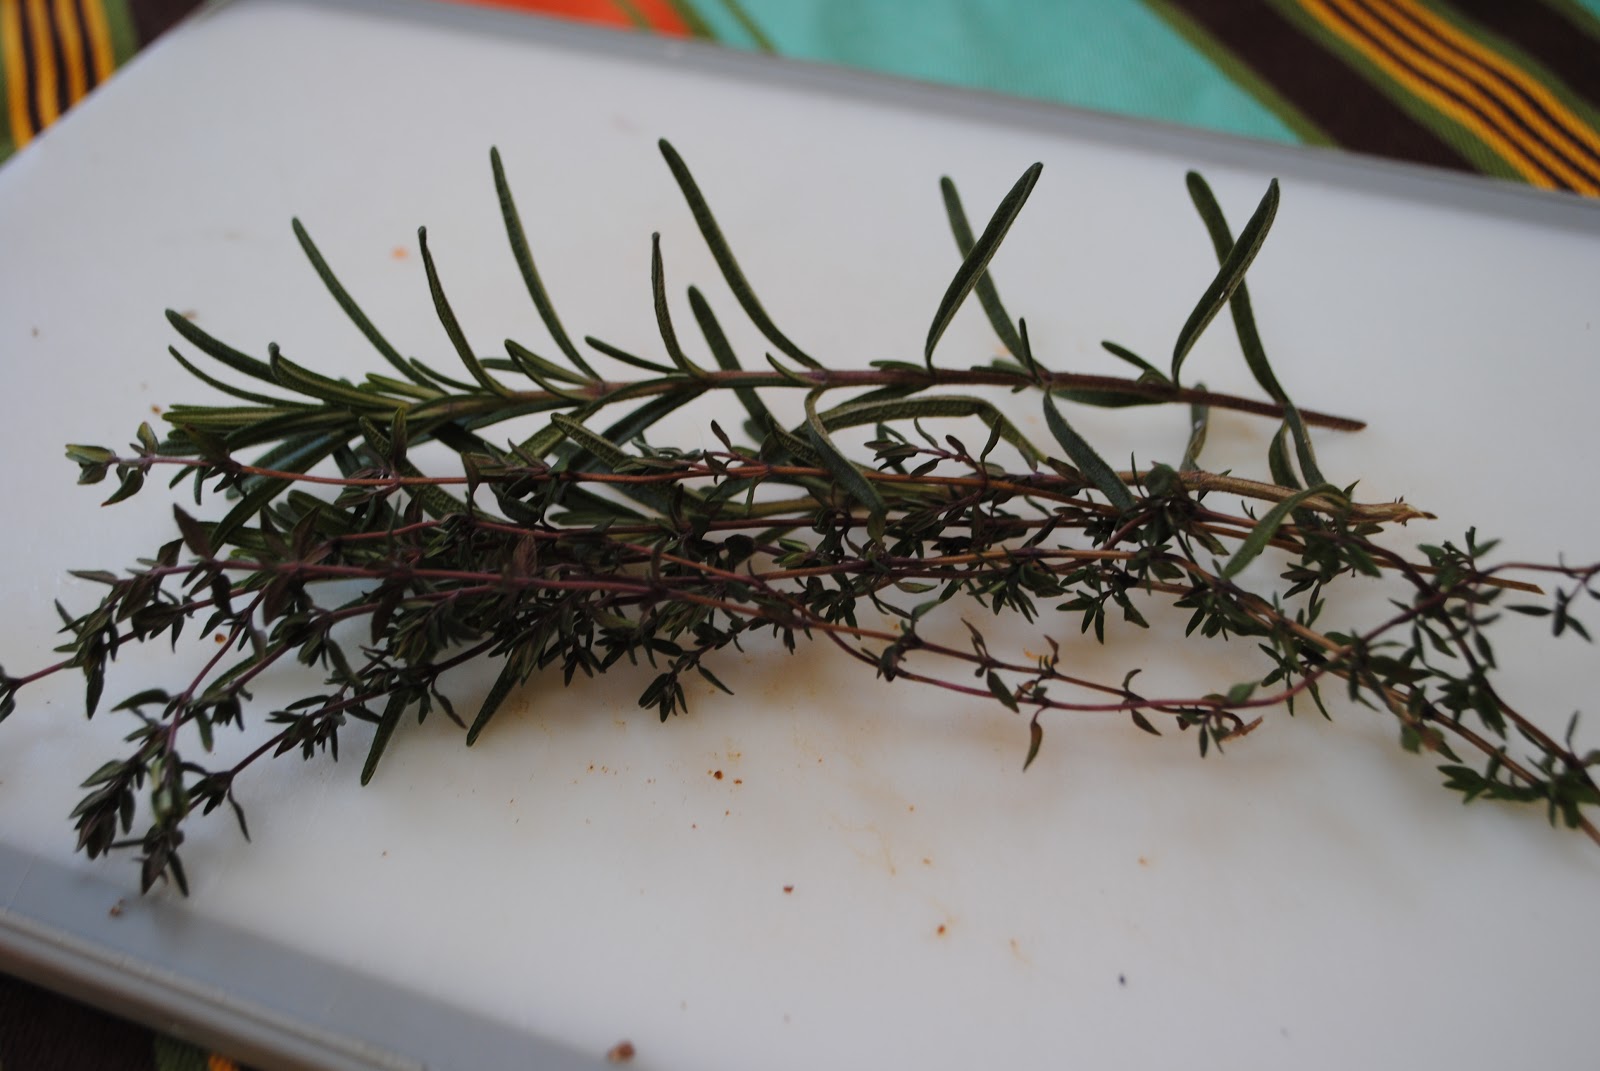
2 sprigs Rosemary
4 sprigs Thyme
2 tbsp flour- can use gluten free!
Sea Salt
Pepper
Olive Oil
1 large oven safe pot- I use a Chassuer enamel coated cast iron 7 qt pot.

1. Preheat oven to 250 degrees. Pat your lamb dry with with a paper towel and season both sides well with sea salt and black pepper
2. Put 2-3 tbls olive oil in pot and place on mid-high heat. Once to temperature place lamb in pot and sear about 5 minutes each side.

3. Remove lamb and set aside on a prep plate. Turn to medium heat. Place onion in pot and cook 3 minutes. Add Carrots, Celery and Garlic- cook 7-8 minutes. Then shake the 2 tbsp of flour over veggies and cook another 2 minutes.

4. Add 2 tbsp tomato paste to veggies and stir. Then add 1 cup dry wine (white or red of your choice) and 1 cup beef stock. Stir with wooden spoon scraping bottom to get up the good bits! Salt and Pepper to taste.

5. Place lamb back in pot, settling it into the veggies and sauce. Add the sprigs of rosemary and thyme over lamb. (No need to detach leaves from stem- they will add the flavor just as is.)

6. Cover oven safe pot and place on rack- 1 below mid height- and set timer for 4 hours. Leave it in oven to slow cook for 4-6 hours!

Serve over Parmesan Garlic Mashed Potatoes, Polenta or Risotto! Enjoy!


 About to go in the oven for 5 hours!!
 After being in the oven for 5 hours... and fall off the bone tender!


Friday, February 22, 2013

Rainy Day Chili

So I will be very honest with you all and let you know, I don't particularly like chili. It's just not a food that gets my taste buds excited, in fact its more likely to make me lose my appetite but then I have some really weird and random food put offs. Like steak, I don't know why but sometimes the smell of steak cooking makes me feel ill. Other times, it makes my mouth water. 

Anyway, non of that is really important because today, I'm sharing with you a recipe for Chili that I do like to eat and every now and then make. I usually only want chili or soup if its very cold out and even more so if its a rainy day! Call me a Hobbit, I really am!


So yesterday it was very cold out and perhaps because I had walked our little yorkie Fritz twice that day I just wanted something warm and filling and hearty.  I also didn't want to slave over a stove for very long to get it. This recipe is simple and takes less than 30 minutes to throw together because it uses precooked canned beans! Bonus- you only need one pot! You can eat it right away or leave it on low heat for an hour or three til you're ready to eat!

Rainy Day Chili:
Serves- 4
Prep Time- 5 min
Cook Time- 30 or less

Ingredients:
1 large or 2 small yellow onions (if you like raw onion to put on top cut up extra)
1 lb lean ground beef or turkey if you prefer
1 can diced tomatoes (I used italian seasoned but feel free to use plain or spicy)
1 can chili beans (these are kidney beans that come in a chili sauce)
1 can cannellini beans
1 can black beans
1 can navy beans
1 large enamel cast iron pot (like this one) if you don't have one, use a large stock pot!

Spices:
2-3 tbsp cumin (I might have a slight obsession with cumin!)
1 tsp chili powder (or more, whatever is most to your spice level)
1 tsp paprika
1 tsp season salt or regular salt
1 tsp black ground pepper
1 tsp garlic powder


1. dice onion however you like it for your chili, I kind of julienned mine- then heat pot on stove over medium heat and add 1-2 tbsp olive oil. 

2. cook onions til translucent and softened. Now its up to you on this but I just throw my ground beef in at this point to cook and let the onions continue to cook with it but if that weirds you out, then just scoop out the onions and set aside in a prep bowl to add back once the beef is cooked. To the beef while it is cooking, add your spices (reserve 1 tbsl cumin)

3. Once beef is cooked add back your onions. Also add the can of diced tomatoes and the can of chili beans- don't drain these just add them directly to the pot. 

4. Open your other cans of beans and drain and rinse those ones thoroughly. No need to have extra sodium when you have enough in your recipe already. I usually rinse and drain them with some good shakes 3-4 times for each can- you can always throw them in a colander too but thats an extra item to clean. 

5. add drained beans to pot. Stir to incorporate it all together and add that last 1 tbsp of cumin. 

6. Try it.. if its not spicy enough or seasoned enough- add what you like to make it your own. I'm going off an approximation of what I used and probably ended up adding a little more paprika and chili. I also  sprinkled in about 8 drops of Tabasco sauce. 

7. Cover and put on low heat, let heat through and serve whenever! 

We put some fresh grated cheddar cheese over ours and my dad added some crushed up tortilla chips. 


 If you use lean ground beef and just enough olive oil to provide a non stick coat to the onions, you shouldn't really have any grease to drain. There'll be just enough to add a little more flavor to your chili!
 Yum! I love how colorful this chili is by using the different types of beans. It provided a nice textural difference and makes it more appetizing than just using kidney beans. 


It heats up for some tasty leftovers too!