But we have been on a diet the past few weeks. Nothing major, just something to kick start the year with healthy eating habits. It's called the Slow-Carb Diet, and yes, you guessed it! It means no carbs! And you know what! I've lost 8 lbs in the past 3 weeks! We do get to have a free day once a week when we can eat whatever we want. Somehow though we still haven't fit in pizza on one of those free days. So yesterday I decided I would try out this Cauliflower Pepperoni Breadstick recipe I had pinned on Pinterest several weeks ago and adapt it for pizza crust.
I fortunately remembered right at the beginning of the process to snap pictures along the way so I could share it with all of you! Here's a sneak peek of the results!

This recipe is adapted from the (I believe) true originator of Cauliflower Pizza Crust and Breadstick crust over at Your Lighter Side. I started by looking over her recipe for the pepperoni breadsticks recipe, but as usual made into my own.
Sarah's Version of Cauliflower Pizza Crust
For one 12-14 in round crust
You'll need:
2 1/2 cups uncooked riced cauliflower (1/2 to 2/3 a head of cauliflower)
1 egg + 1 tbsp egg beaters or 1 egg white
1 1/2 cup mozzarella cheese (I used half fat free and have 2%)
1-2 cloves minced garlic
1 tsp marjoram
1 tsp oregano
1tsp parsley
2 tsp basil
1/2 tsp garlic salt
1/2 tsp black pepper
Optional: 16 diced up Turkey Pepperoni to mix into crust
1. Preheat oven to 350. If you have convect bake option use it.
2. rinse cauliflower and cut off the top florets. Its ok if the stalk part closest to florets are included.
3. Using food processor, throw florets in and pulse on high a few times till cauliflower looks about the texture of rice or quinoa
4. Leaving in processor- add cheese, garlic, and herbs. Pulse a few more times until cheese is broken down a bit and herbs are evenly incorporated.
5. Have a medium to large mixing bowl- pour mixture from processor into bowl.
6. Add 1 egg and use fingers to mix well. If looks like its still a bit dry add the 1 tbsp egg beaters. You are looking for an evenly wet but not runny or sopping mixture. Just enough egg to coat everything with no excess liquid at the bottom.
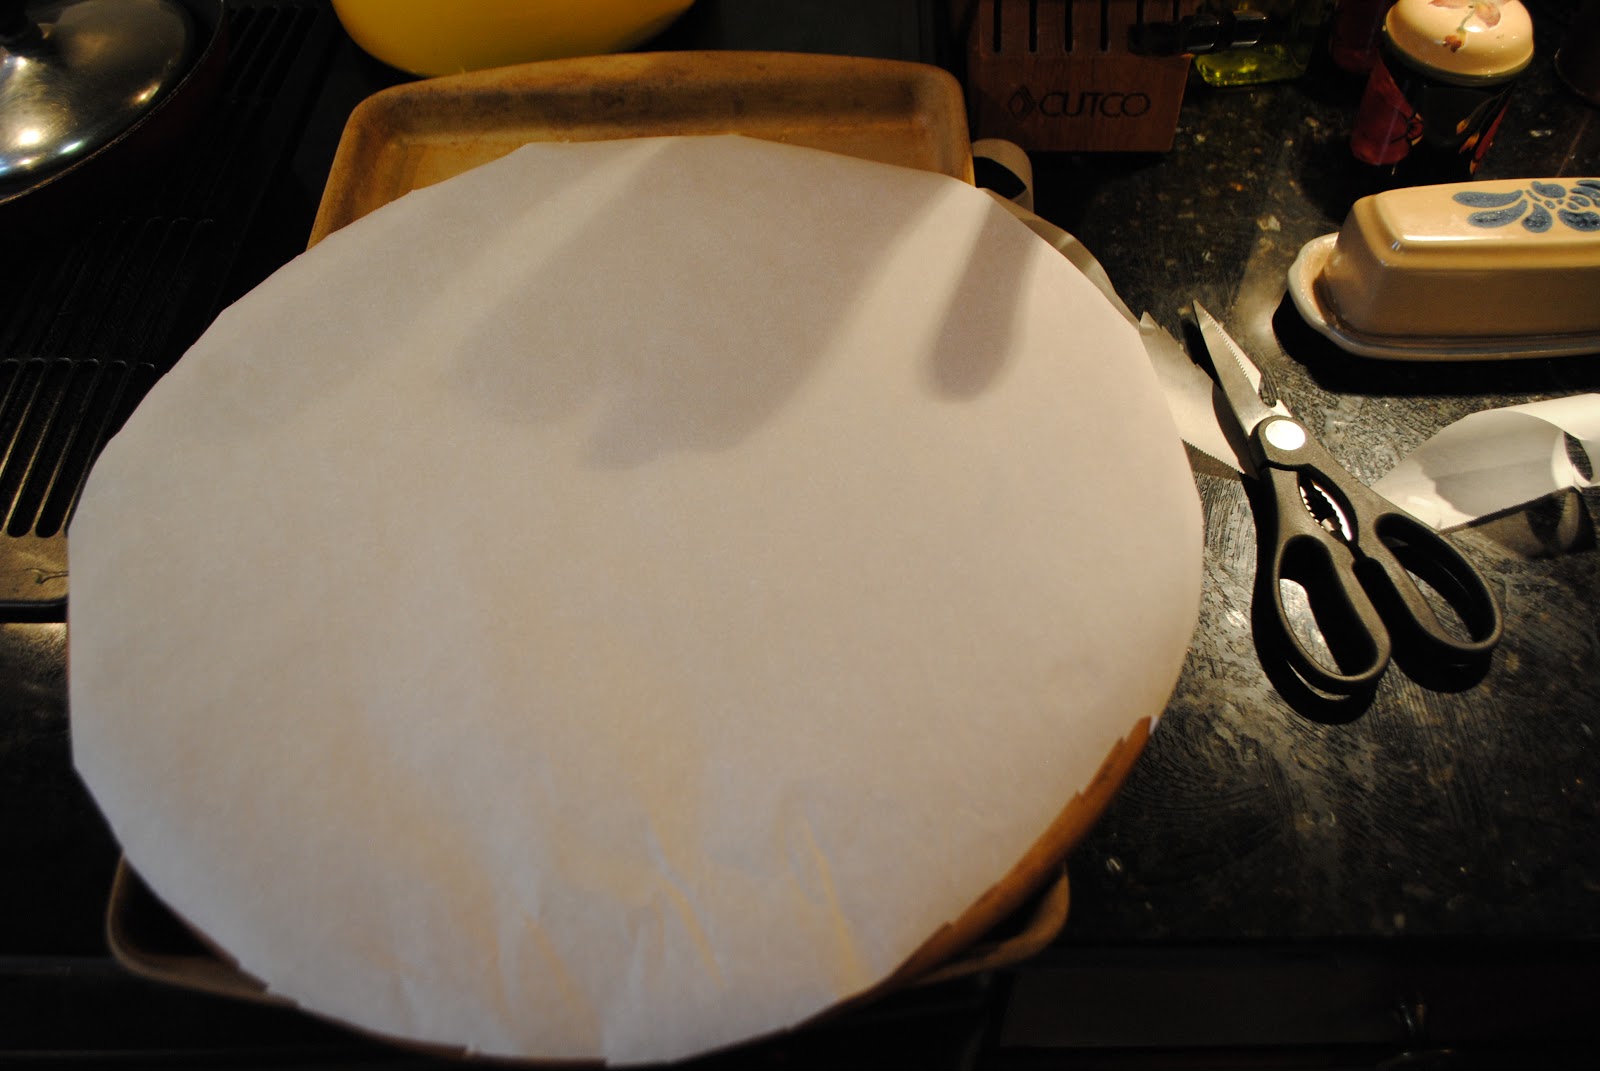
7. Have a baking sheet (preferable a baking stone) round or rectangle and place a sheet of parchment paper over. Or silpat.
8. Dish out the mixture onto parchment paper covered baking sheet and using a spatula spread out as evenly as possible. (I think you're hand works better because you can feel the thickness and get it nicely even) slightly compacting it into a nicely shaped circle or rectangle.
9. Place crust in oven on lowest rack (unless your lowest rack is notorious for burning- then middle rack) and bake crust for 30-45 minutes. Just set it for 30- check it- mine looked like it was all baked together between the melted cheese asnd egg but was still pretty white so I left it in another 15-20 minutes while I prepped toppings to get a big browner around the edges.
10. Once crust is baked pull out and top with you favorite toppings- make sure they are all precooked except things like cheese or fresh spinach. Be mindful that the heavier the toppings the more likely you'll be using a fork and knife.
11. Turn broiler on to 450 and place topped pizza under broiler for 3-5 minutes. Pull out and as tempting as it is to dig in. Leave it alone. Set a timer for 15-20 minutes and walk out of the kitchen. This crust definitely is better when you let it cool a bit and set up. At least it is if you intend to hold it like real pizza!
That's it! Enjoy! It was a big hit in our family and we will definitely be keeping it in the frequent go to meals. You can also make the crust a head of time like the night before or in the morning and after baking it freeze for later or reheat quickly for 5 minutes in a 400 degree oven and then top and broil!
Now for the step by step pictures!


Up-close of what the riced cauliflower looks like.


I made two pizzas- one in our rectangular baking stone not pictured. That crust was pepperoni free and this one had some chopped up turkey pepperoni in it. After tasting both our vote was YES for the pepperoni! It did just the trick to give it that extra pizza taste!


We are a meat family! But I snapped a picture of our toppings before you added the meat and as you can see it would have made a delicious veggie pizza too (sans the pepperoni in the crust of course)! Our toppings included: fresh torn up spinach leaves, sautéed mushrooms, sautéed baby bell peppers, and cut up artichoke hearts. As well as pre-cooked and seasoned ground beef, chopped up precooked bacon and a bit of Monterey Jack cheese on top!


Remember! As delicious and tempting as it may look... put own the pizza cutter and WAIT 15-20 minutes for it to cool a bit and the crust to set up! It'll be worth it for the flavors to meld and to not burn the roof of your mouth!


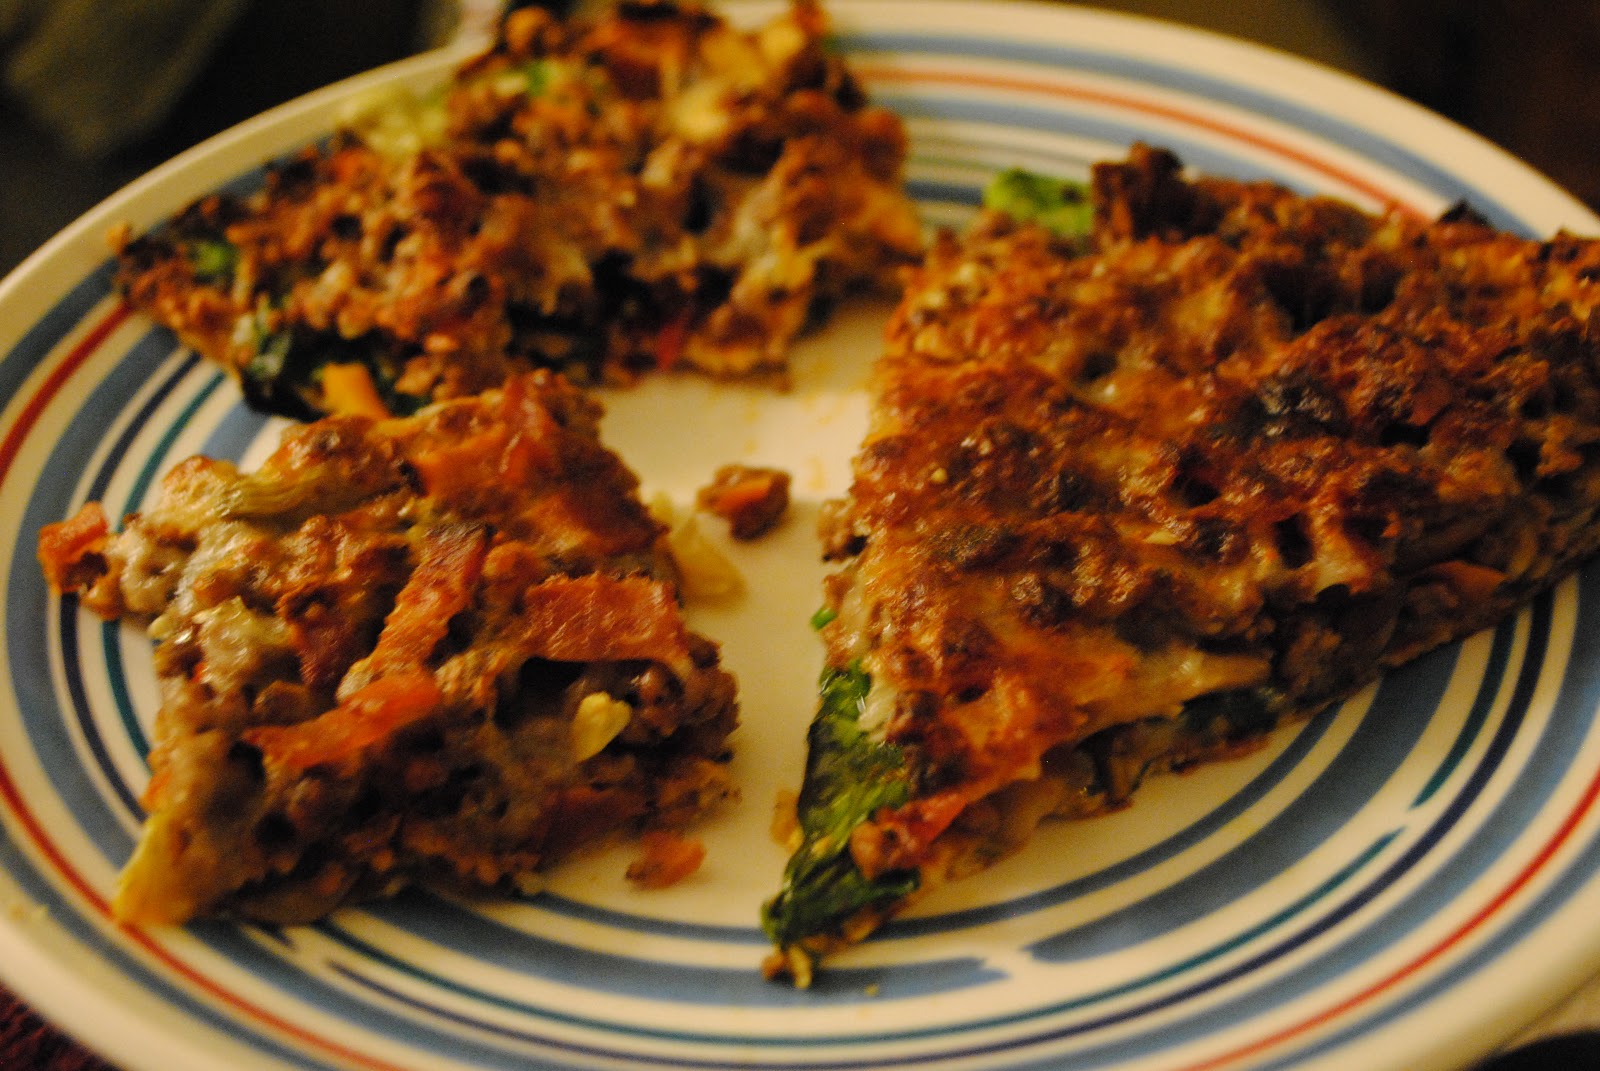
Mmm, it was so yummy! You barely knew it wasn't real crust. And best part! This pizza was both gluten free and grain free!
Now please excuse me while I go heat up a piece... or 2 for lunch! :)
yum! this looks great. will have to try it!
ReplyDeleteLet me know how it turns out if you do! :)
Delete